As a robust merchant, you will need direct management of your list of vendors. Therefore, your staff must be able to create and attach valuable unique details to the vendors. With those steps implemented, it will be easier to track all vendors and provide accurate information when needed.
Below is a simple guide on how to create, edit and delete a vendor.
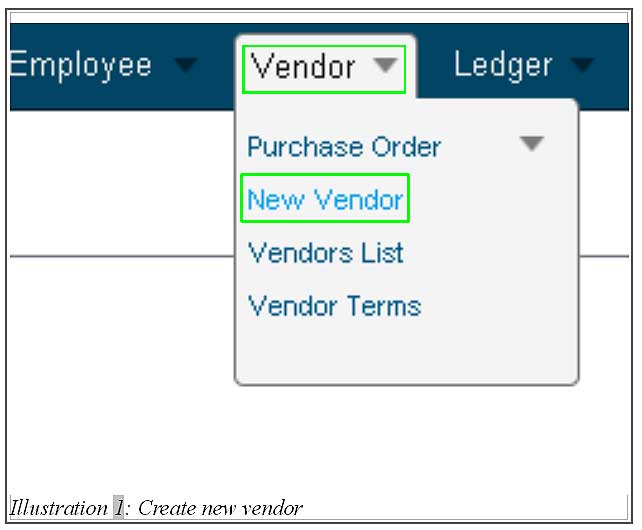
1. Click on Vendor > New Vendor to create a new vendor.
Please click on image to view clearer.
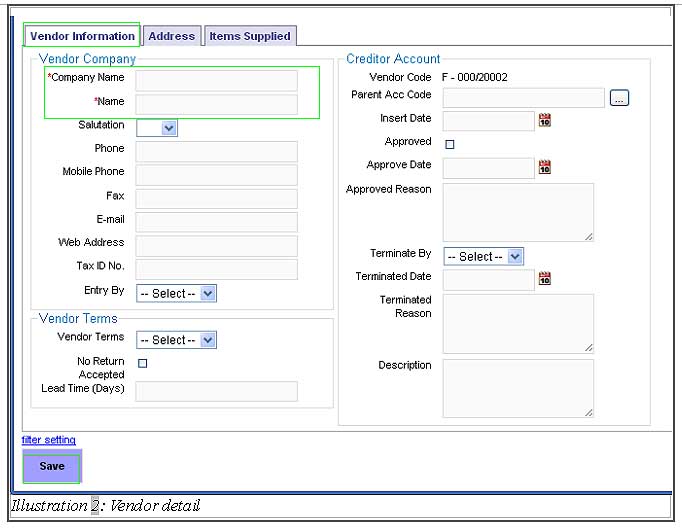
2. You are now in the vendor information page which requires you to fill in the vendor’s detail.
Please click on image to view clearer.
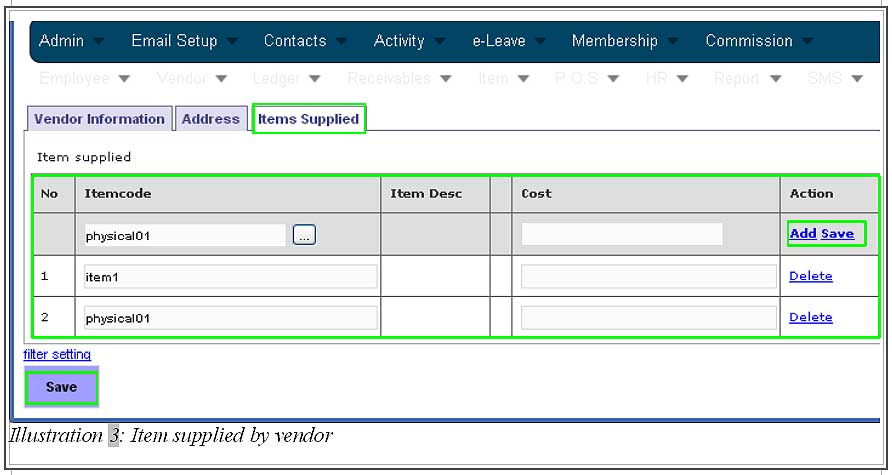
3. Now, click on Item Supplied to fill in all the items that have been provided by the vendor. Save it by clicking on Save button provided.
Please click on image to view clearer.
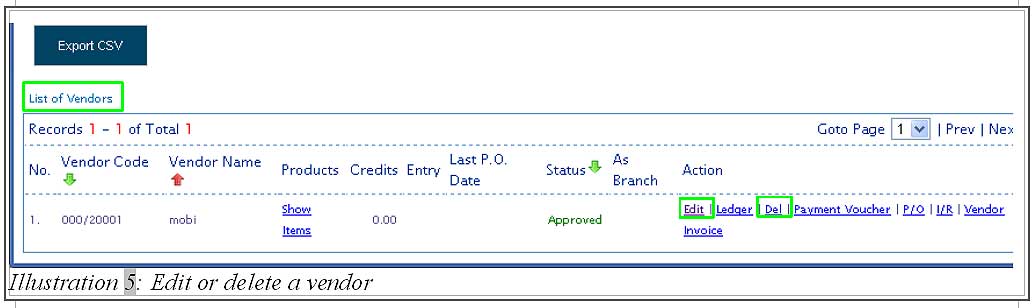
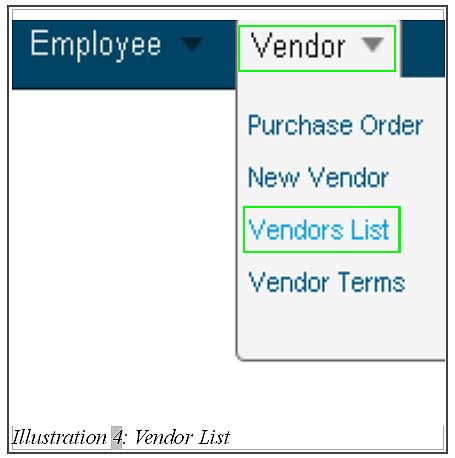
4. After a vendor’s detail has been saved, go to Vendor > Vendors List to view a list of vendor which includes the newly created vendor.
Please click on image to view clearer.
5. From this list, you are able to edit or delete a vendor’s information by just clicking on Edit or Del respectively.
Please click on image to view clearer.